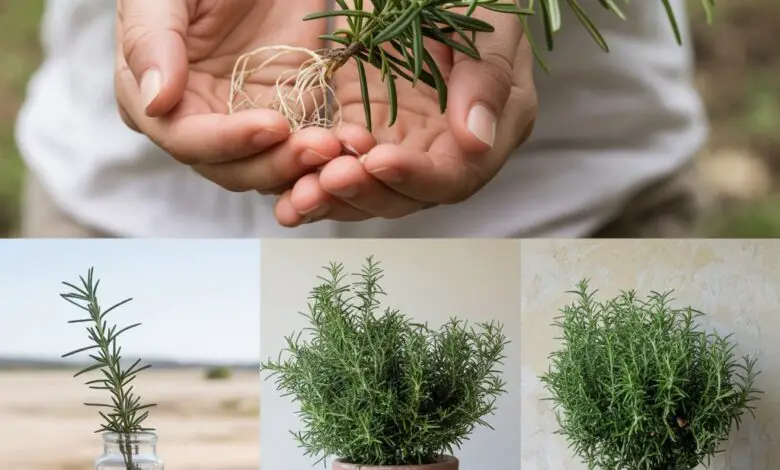
Rosemary is more than just a fragrant herb—it’s a staple in countless kitchens for its bold flavor and delightful aroma. But what if you could grow your own, right at home? With just a few simple steps, you can propagate rosemary from cuttings in water, then transplant it into pots for a fresh, green supply all year round.
Whether you’re a seasoned gardener or a curious beginner, this guide will walk you through the entire process—from snipping the first stem to enjoying your own homegrown rosemary.
What You’ll Need
- A healthy rosemary plant
- Clean scissors or pruning shears
- A glass or small vase
- Distilled or filtered water
- Rooting hormone (optional)
- Small pots with drainage holes
- Well-draining potting mix
- Plastic bag or wrap
- Rubber band or string
- A sunny window or grow light

Step 1: Take the Cuttings
Start with a mature, healthy rosemary plant. Look for sturdy, green stems free of pests or damage. Snip 4- to 6-inch sections just below a leaf node (that’s where new roots will sprout). Aim for multiple cuttings to increase your success rate.
Step 2: Strip the Lower Leaves
Gently remove the leaves from the lower 2 to 3 inches of each cutting. This helps the plant focus its energy on root growth rather than supporting foliage.
Step 3: (Optional) Dip in Rooting Hormone
While not essential, applying a rooting hormone to the cut end can improve your chances of success. If you choose to use it, lightly dip the stem in the powder or gel, then shake off any excess.
Step 4: Place Cuttings in Water
Fill a glass or small vase with about 2 to 3 inches of distilled or filtered water. Submerge the stripped ends of the cuttings, ensuring the leaves stay above water. Place the glass in a warm, bright spot with indirect sunlight.
💡 Tip: Change the water every few days to keep it fresh and oxygen-rich.
Step 5: Create a Humid Environment
To promote root growth, cover the glass loosely with a plastic bag or wrap. Secure it with a rubber band or piece of twine. This makeshift greenhouse keeps the humidity high, which helps prevent the cuttings from drying out.
Step 6: Provide Light—But Not Too Much
Set your cuttings where they’ll receive indirect sunlight or use a grow light if needed. Avoid direct, harsh sun, which can scorch the tender stems.
Step 7: Be Patient and Monitor Growth
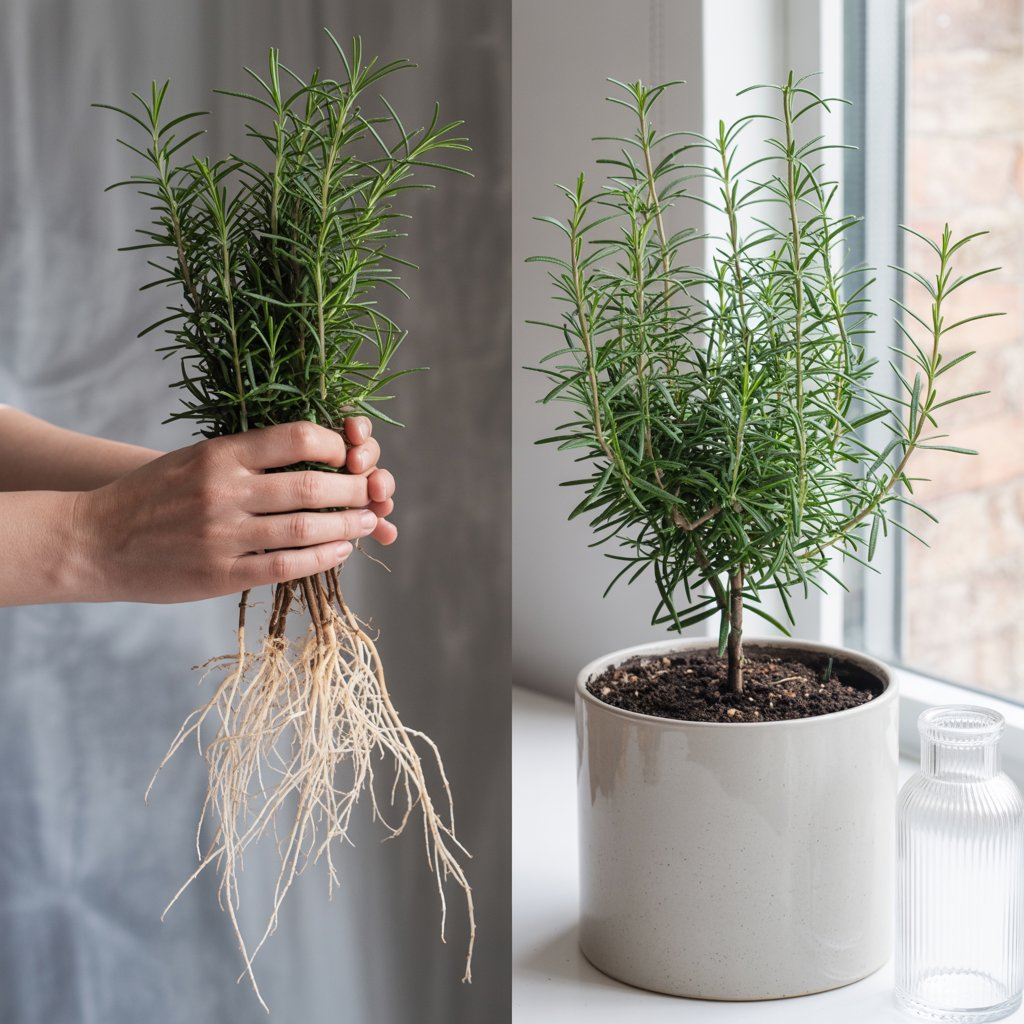
Within 2 to 6 weeks, you should see small white roots forming. When the roots reach about 2 to 3 inches in length, the cuttings are ready to be planted in soil.
Step 8: Transplant into Pots
Choose small pots with good drainage and fill them with a light, well-draining potting mix. Gently remove the rooted cuttings from the water and plant them 1 to 2 inches deep in the soil. Handle the fragile roots with care.
Step 9: Water and Care for Your New Plants
After planting, water thoroughly and place the pots in a sunny spot—ideally a windowsill that gets several hours of light each day. Allow the top inch of soil to dry out between waterings, and ensure good air circulation to prevent fungal issues.
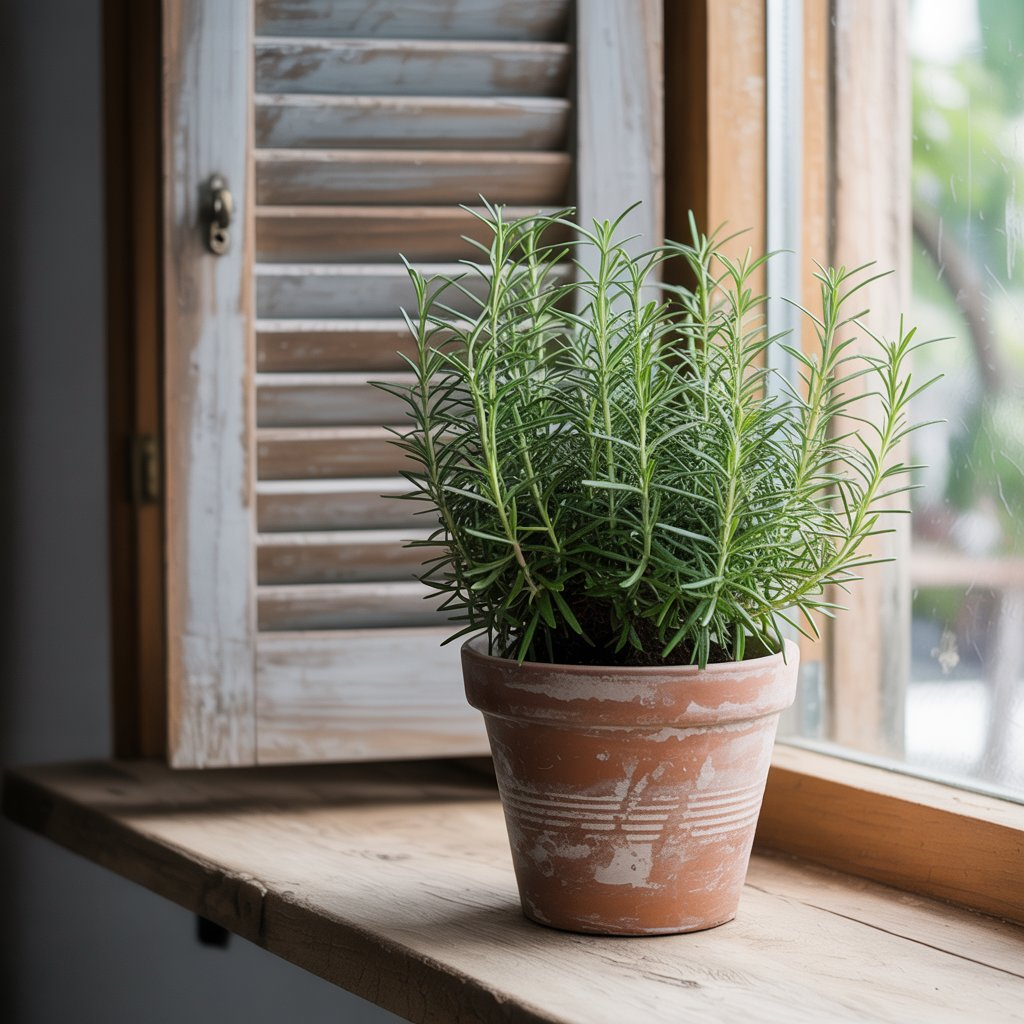
Step 10: Harvest and Enjoy
With the right care, your rosemary will thrive. Once the plant is established and growing steadily, you can start harvesting sprigs as needed. Always snip from the top to encourage bushier growth.
Final Thoughts: A Fresh Touch for Your Kitchen
Propagating rosemary from cuttings is a simple and satisfying way to grow your own herbs. Not only do you get a steady supply of fresh rosemary for cooking, but you also bring a touch of green life into your home.
With just a bit of time and attention, this fragrant herb will reward you with flavor, aroma, and a deeper connection to your kitchen garden. Happy growing!